Unstained lead time is 2-3 days, whereas stained lead time is 1-2 weeks. These are wine cellar kits that require some assembly. Please see the assembly guide featured on the last two images.
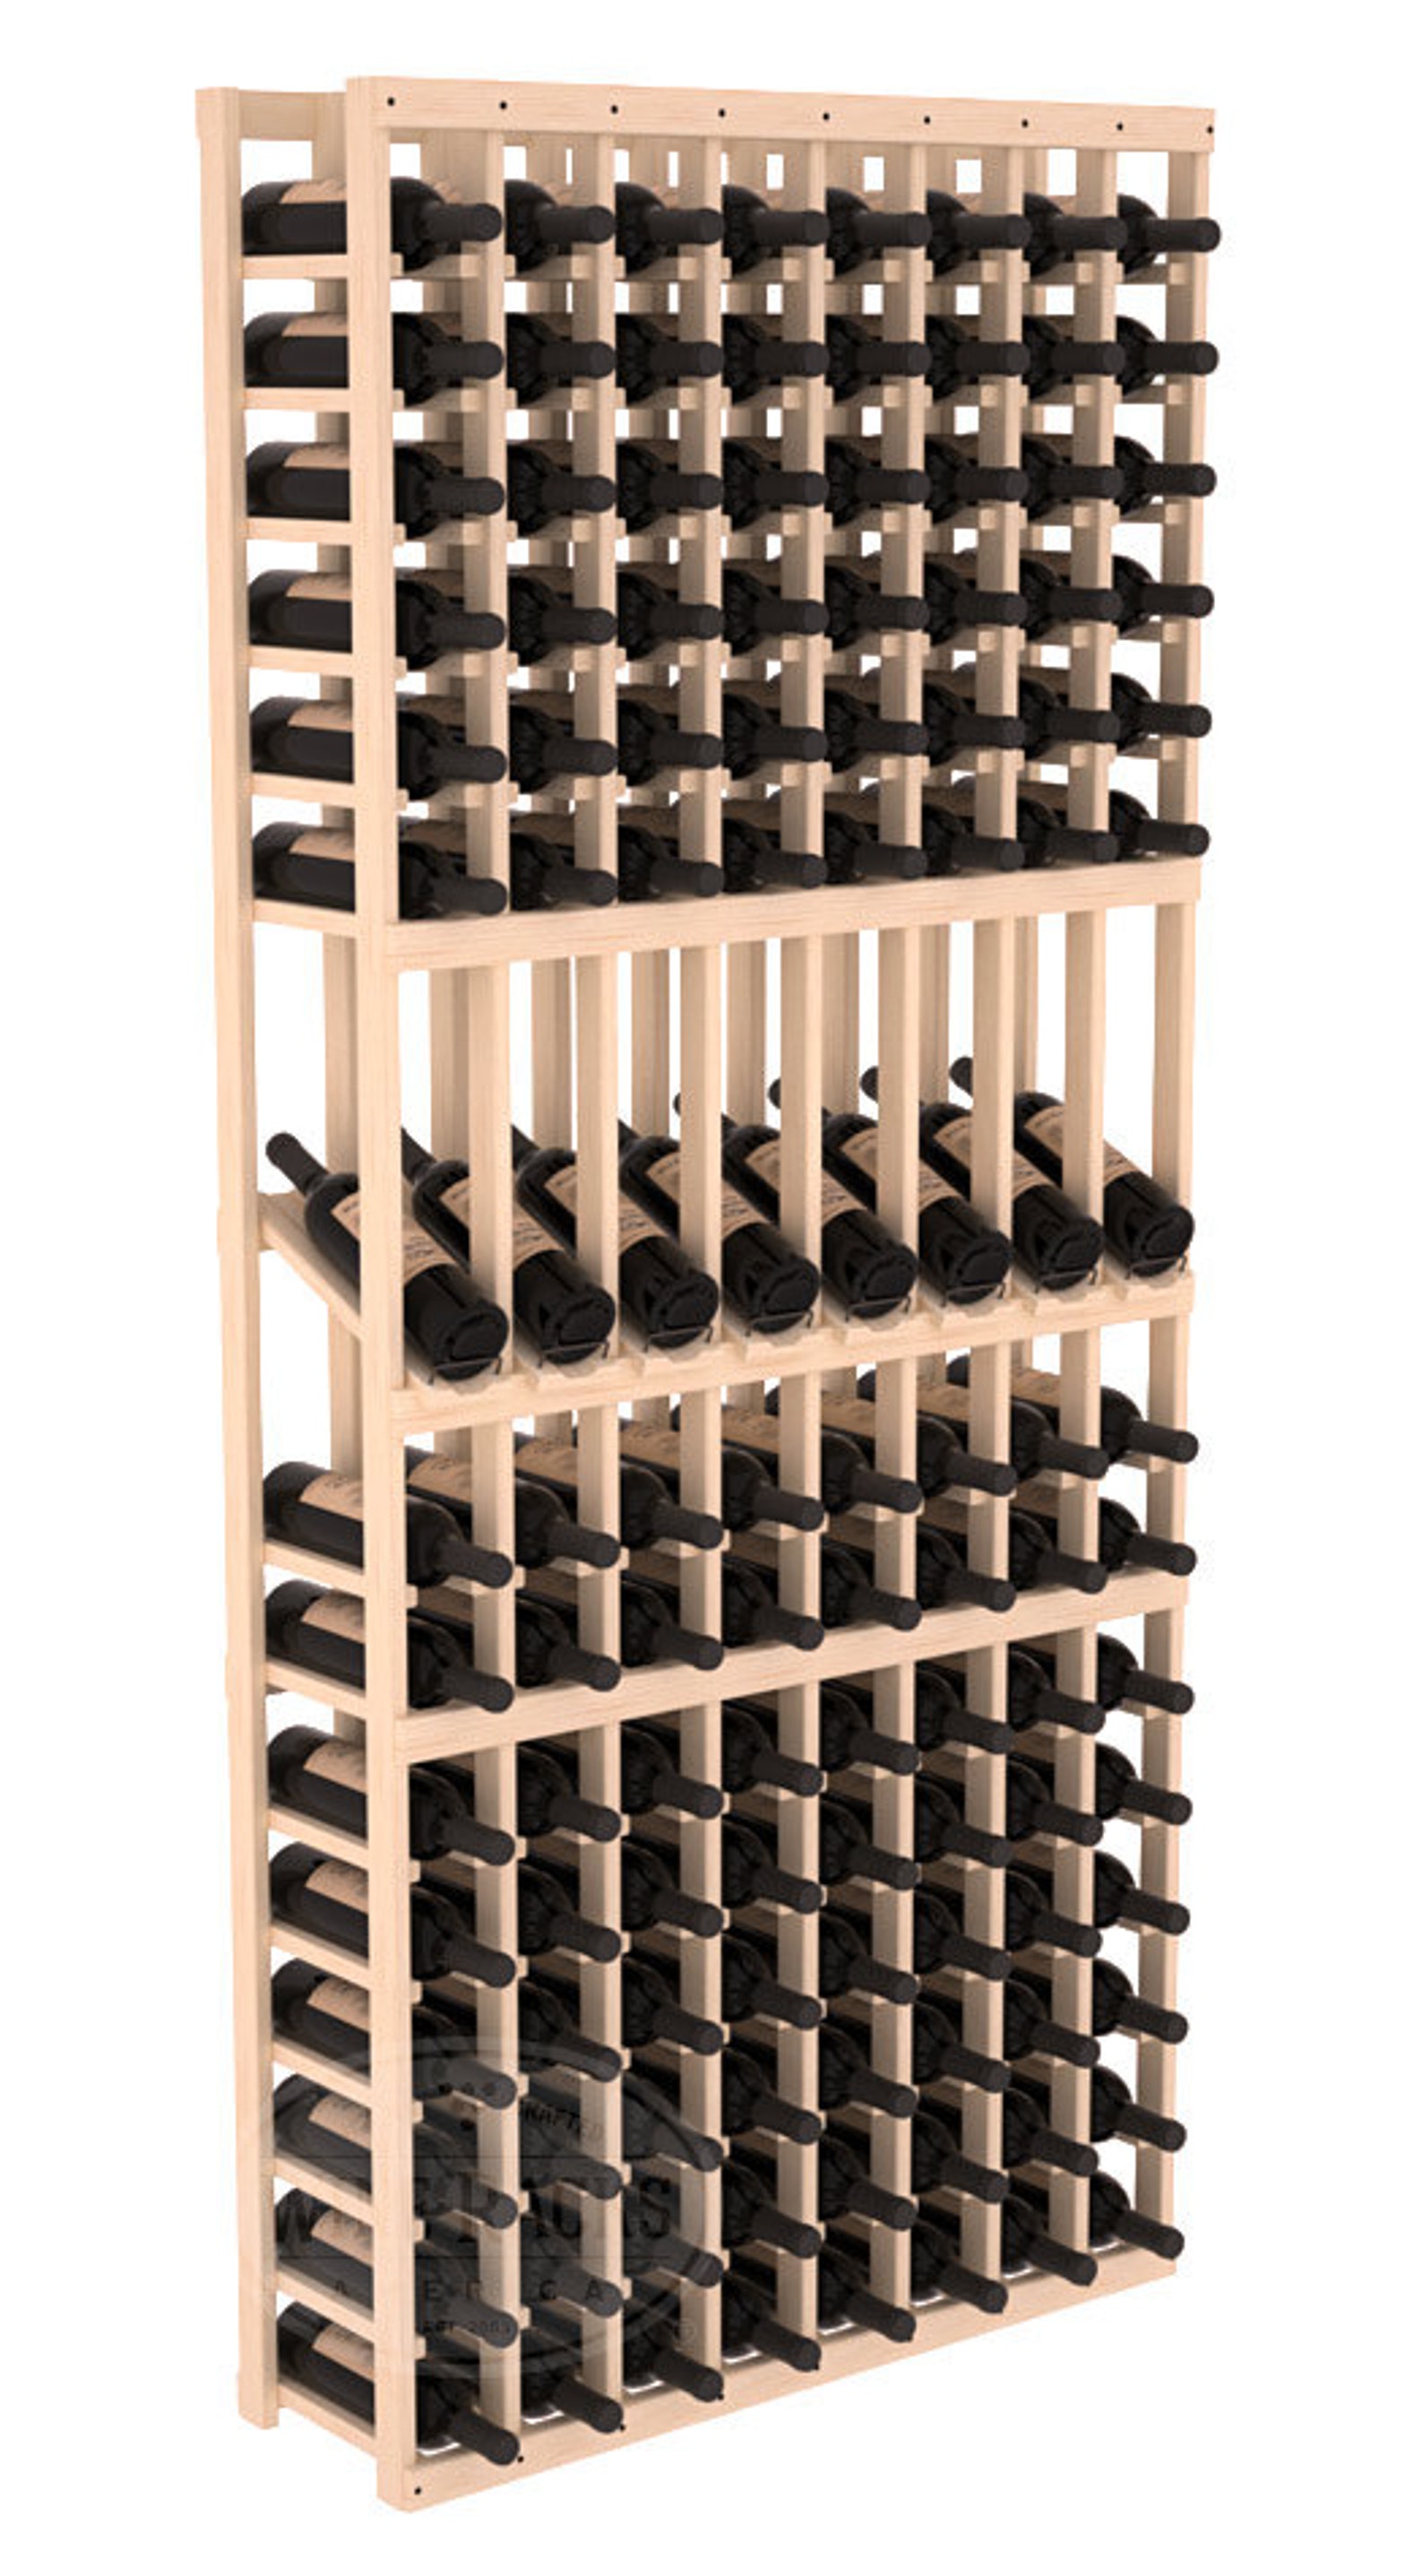
Make 8 of your best vintages a focal point in your wine cellar. This display rack can store up to 11 wine cases. Features our industry exclusive solid display trays with high-reveal. Our wine cellar kits are designed to emphasize durability and elegance. You'll be satisfied. We guarantee it.
Width: 34 7/8"
Height: 77 1/8"
Depth: 10 1/2"
Bottle Slot: 3 1/2"
Columns: 8
Rows: 15
Bottle Capacity: Up to 120 bottles
Weight: about 60 lbs
What's included in my shipment?
Hardware and assembly instructions
[9] Full length ladder assemblies
[8] Solid wood display trays
[9] Horizontal spacer bars
Product Features
Make 8 of your best vintages a focal point in your wine cellar. This display rack can store up to 11 wine cases. Features our industry exclusive solid display trays with high-reveal. Our wine cellar kits are designed to emphasize durability and elegance. You'll be satisfied. We guarantee it.
Every Wine Racks America product is proudly made in America by dedicated wood-working professionals. Using only the finest quality Ponderosa Pine and Premium Redwood each product is hand crafted to highest standards of wine cellar industry.
Furniture quality Pine or hearty Redwood
Width 34 3/16" Height 77 1/8" Depth 10 1/2"
120 wine bottles with 8 on display (750ml)
Bottles load easily and securely
Unique solid wood display trays keep corks wet
Modular design affords expansion to any direction
Money Back Guarantee + Lifetime Warranty
What size wine bottles will fit?
Split (375ml): 2 3/8" ✓
Bordeaux (750ml): 2 7/8" ✓
Boutique (750ml): 3 1/8" ✓
Small Champagne (750ml): 3 1/4" ✓
Burgundy (750ml): 3 1/4" ✓
Large Pinot (750ml): 3 3/8" ✓
What size wine bottles won't fit?
Turley (750ml): 3 9/16" X
Big Champagne (750ml): 3 7/8" X
Magnum Bottles (1.5L): 4" X
Warranty Information
Wine Racks America, Inc. warranties all wooden wine racks for the product's life. This service protects against any defects in materials or workmanship performed by Wine Racks America. Should a defect arise, contact us immediately. “Defect” refers to, but is not limited to, occurrences of warping and bowing of the wood, splitting, or cracking. Manufacturer will replace the defective part or send a replacement at its discretion.
Customer is responsible for notifying the Manufacturer of defects believed to be covered by this Warranty within 10 days of receiving the product. Manufacturer reserves the right to inspect any item for product failure and may request photographs of or the return of the product. This Warranty is limited to the cost of repair or replacement of the defective item.
Wine Racks America LED products are guaranteed for six months from the date of purchase. Customers may request an exchange or a refund of defective products within that period. Conditions of exchange or return will be the same as stated above.
This Warranty does not cover products that have been modified or altered by the customer. This Warranty does not apply to products that are improperly assembled, handled, or installed. Damage to products caused by Acts of God is excluded from this Warranty. Conditions not covered herein are settled solely by the discretion of Wine Racks America, Inc.
Original article and pictures take https://www.etsy.com/listing/224165814/handmade-wooden-8-column-120-bottle site